How to create a Silverlight/XAML Application
For more information about Silverlight/XAML for Embedded, refer Microsoft Silverlight (XAML) Article.
Development Environment for Silverlight
To create an application in Silverlight, following software should be installed in your PC.
1) Visual Studio 2008, click here to download and install it.
2) Visual Studio 2008 sp1, click here to download and install it.
3) Microsoft Expression Blend 3, click here to download and install it.
4) Windows Embedded Silverlight Tools, click here to download and install it.
5) SDK for WEC7, click here to download and install. On images with the Microsoft QFE Updates May 2014 and later SDK v2.0 has to be used, before SDK v0.2 has to be used.
Make sure that you install all these software in the same order as mentioned above.
NOTE: We are using trial version of Microsoft Expression Blend 3.
Creating Silverlight Application in Expression Blend 3
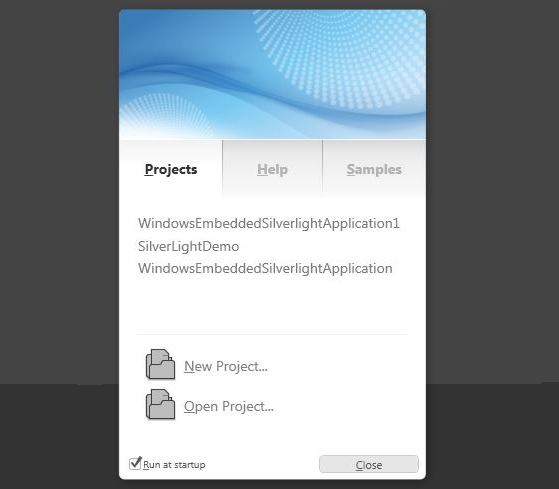
- Click on Start > All Programs > Microsoft Expression > Microsoft Expression Blend 3 > select on continue using the trial version of the product > select New Project.
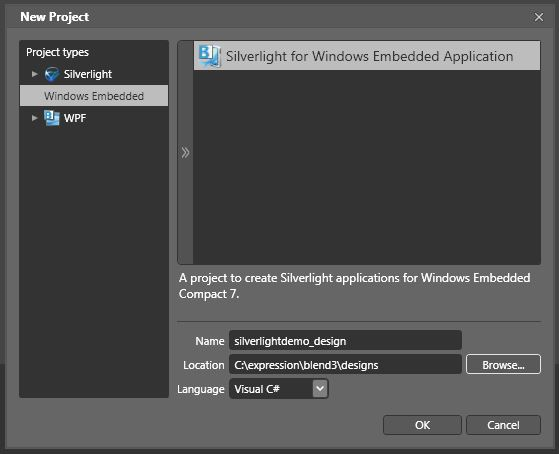
- Select Windows Embedded under Project types in the left pane, specify the project name and the path of the project as shown in figure, select Language as Visual C# and click OK.
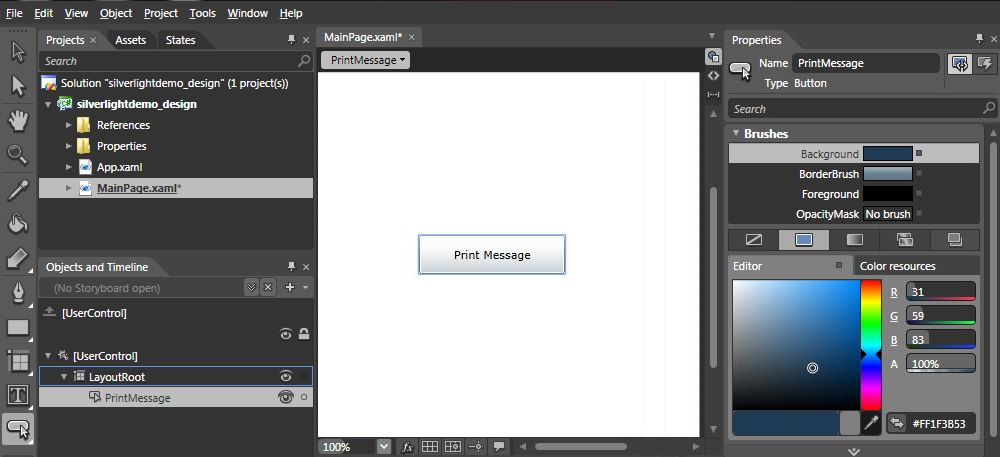
- To create a button in the project select Button in Assets in the left pane and click on MainPage.xaml and draw a button on template.
- To edit the name of the button, select Button > right click > Edit Text.
- In the right pane Properties > Name, specify the name of the button as PrintMessage.
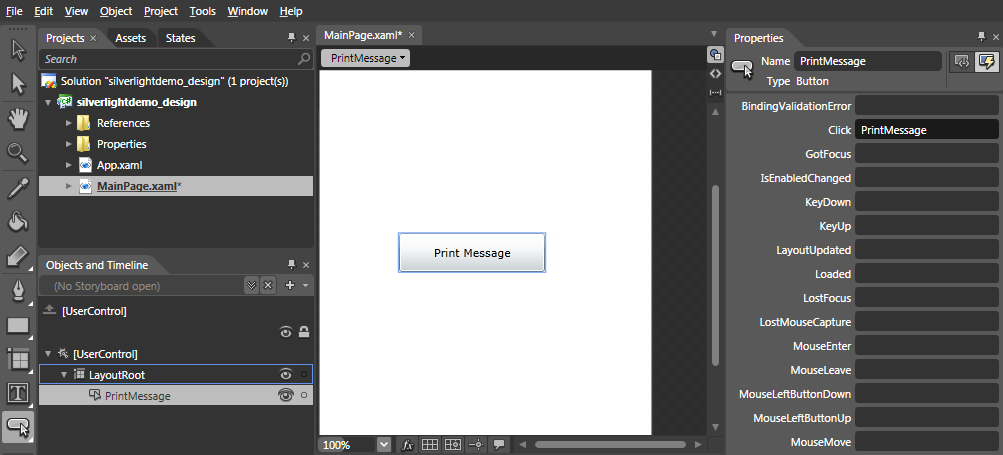
- In the right pane Properties, click on Events and specify the function name of the button as PrintMessage on Click textbox.
- To insert text, select TextBox in the Assets in the left pane, click on MainPage.xaml and draw the TextBox.
- In the right pane Properties > Name, specify the name of the Textbox as MessageSpace.
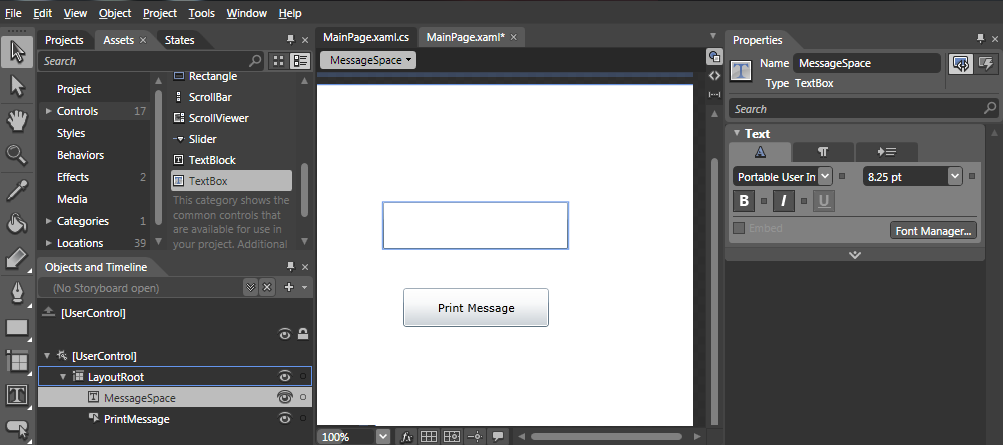
- In the menu bar, click on File > Save All.
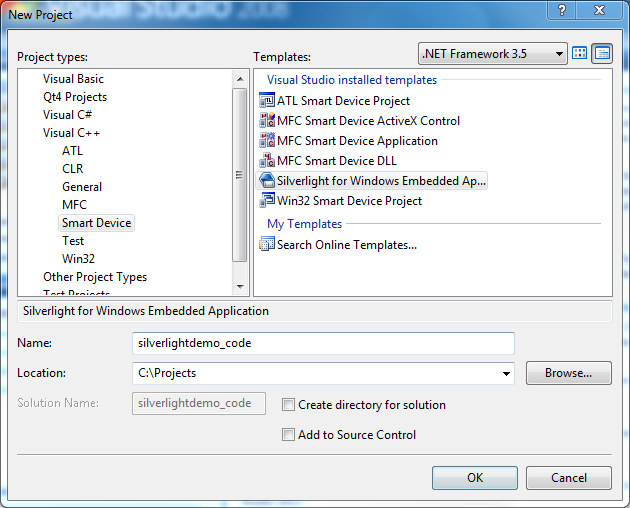
- Start VS2008, select File > New > Project. In the left pane under Project types, expand Visual C++ and choose Smart Device, under Templates select Silverlight for Windows Embedded Application, specify a name to the project and click OK.
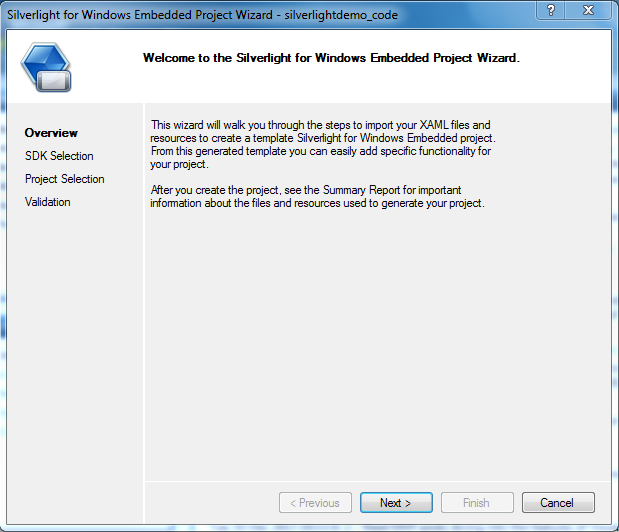
- Click on Next in the window Silverlight for Windows Embedded Project Wizard.
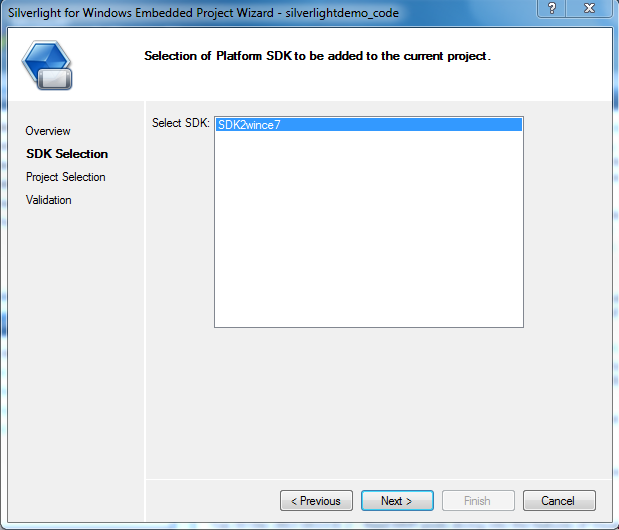
- Click on Next.
- Click on Browse and select your Expression Blend 3 Project.

- Click on Next > Finish.
- Edit the code as following.
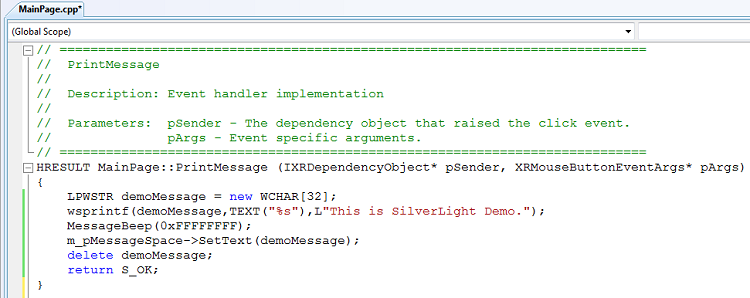
HRESULT MainPage::PrintMessage (IXRDependencyObject* pSender, XRMouseButtonEventArgs* pArgs)
{
    LPWSTR demoMessage = new WCHAR[32];
    wsprintf(demoMessage,TEXT("%s"),L"This is SilverLight Demo.");
    MessageBeep(0xFFFFFFFF);
    m_pMessageSpace->SetText(demoMessage);
    delete demoMessage;
    return S_OK;
}
To build the project, goto Build > Build Solution.
To deploy the project, goto Build menu, click Deploy Solution.
To run Silverlight application, the OS image must be built with Silverlight. To learn more click here.
Instead of building your own image, you can use the Silverlight Flash Installer to install the feature on top of the standard Toradex Windows CE image.
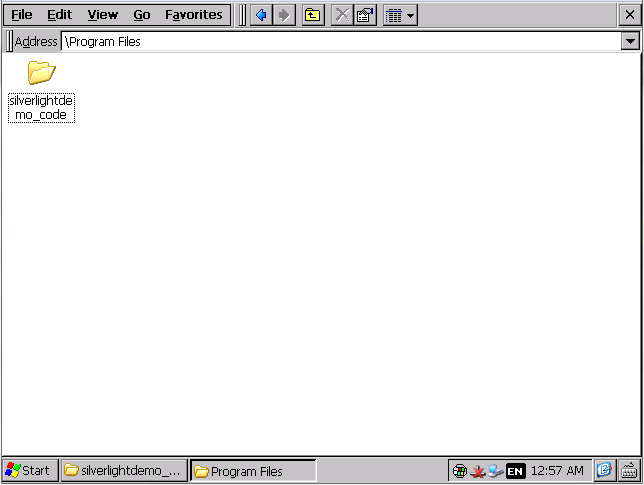
NOTE:: If you want to use Silverlight in your device you have to buy the WinCE professional license.On the target, open My Device > Program Files. The silverlightdemo_code folder contains a .exe file to run the application.
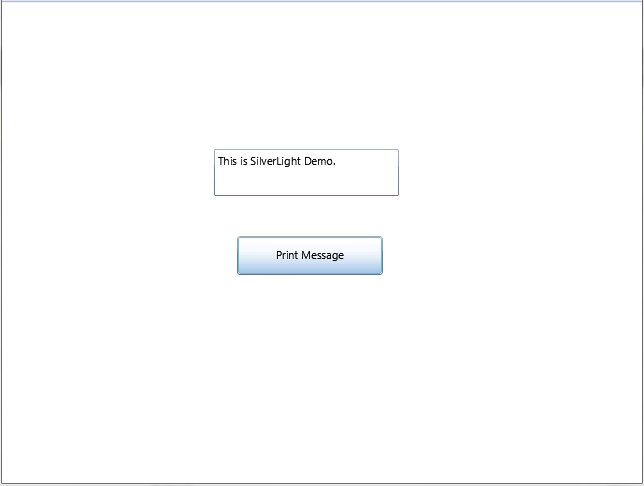
- Double click the .exe to run the application and then click on the button Print Message, you will see the message This is SilverLight Demo.
Using a library
- If you want to use a library in your Silverlight project, follow this link.