Remote Network Driver Interface Specification (RNDIS) is a Microsoft proprietary protocol. Devices using a USB connection for downloading and debugging of OS image from Platform Builder use this driver to emulate a network connection. RNDIS driver is required for this purpose.
RNDIS driver is a part of the Windows 7 operating system, but the OS fails to detect it automatically. The following steps will help the user to install the RNDIS driver.
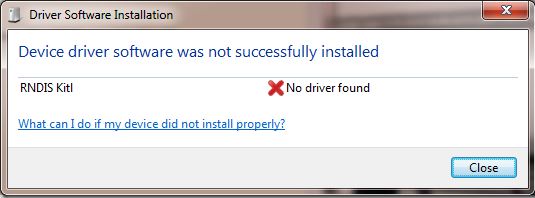
1. After the device is connected to the development PC, OS will automatically search for the RNDIS driver. After it fails to find the driver, the following message will be shown.
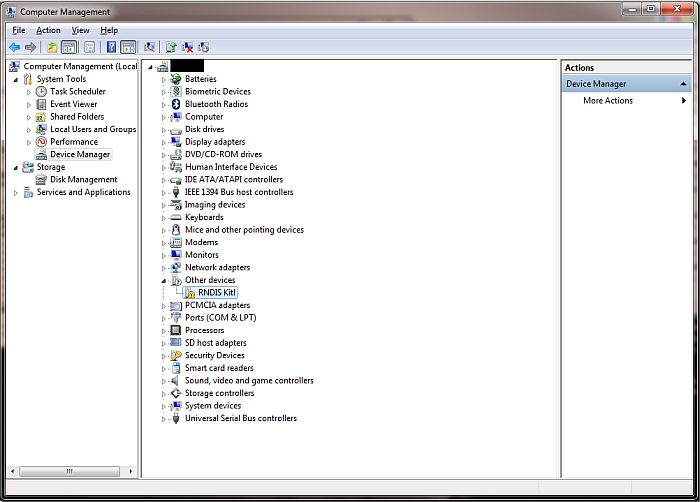
2. Right click on Computer and select Manage. From System Tools, select Device Manager. It will show a list of devices currently connected with the development PC. In the list, RNDIS Kitl can be seen with an exclamation mark implying that driver has not been installed.
3. Right click on it and select Update Driver Software... When prompted to choose how to search for device driver software, choose Browse my computer for driver software.
4. Browse for driver software on your computer will come up. Select Let me pick from a list of device drivers on my computer.
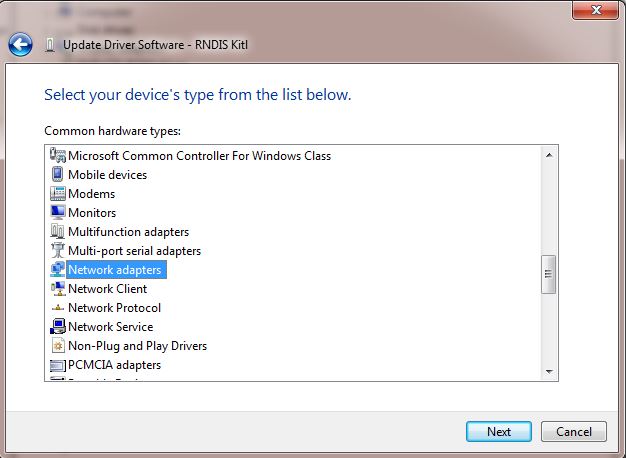
5. A window will come up asking to select the device type. Select Network adapters, as RNDIS emulates a network connection.
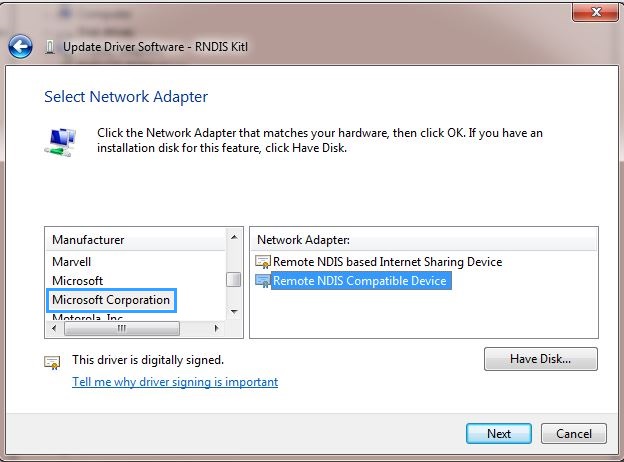
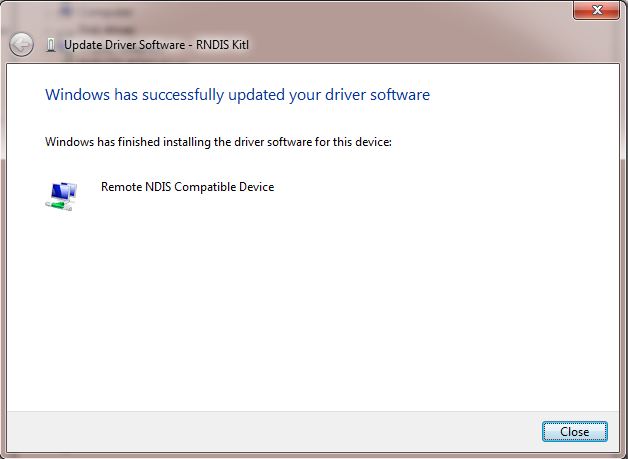
6. In the Select Network Adapter window, select Microsoft Corporation from the Manufacturer list. Under the list of Network Adapter:, select Remote NDIS compatible device.
7. The RNDIS Kitl device is now installed and ready for use.
All the latest Microsoft Windows CE Platform Builder Workspaces for Colibri module family can be downloaded from here.

