Creating a Fleet with Torizon Cloud
Overview
Torizon Cloud is a convenient and secure mechanism that enables remote over-the-air updates for either a single unit or a fleet of devices. After updating a single device, we will create a fleet to start a software update on multiple devices.
In this section, you will:
- Create a set (fleet) of devices
- Update the software on the entire fleet at once
Typographic Conventions
Throughout the Toradex documentation, the following typographic conventions are used:
$ (dollar sign) Command in the host computer (e.g. your PC)
$ Command in your PC
$$ (double dollar sign) Command in a container in the host computer (e.g. your PC)
$$ Command inside a container in your PC
# (hashtag) Command in the target device/board (e.g. Linux terminal)
# Command in the target board, e.g. Colibri iMX6
## (double hashtag) Command inside a container in the target device (Torizon)
## Command inside a container in Torizon
> (greater-than sign) Command in the bootloader (e.g. U-Boot console)
> Command in the Bootloader
No symbol: Command output
$ Command waiting for output
Output
Prerequisites
This is a requisite for the entire Quickstart, but our Torizon Cloud app will run on any browser, on any Linux, Windows or MacOS.
For this lesson:
- Access to the board terminal (refer to Linux Terminal and Basic Usage).
- At least one device and one package added to Torizon Cloud as explained in the previous lessons.
Step 1
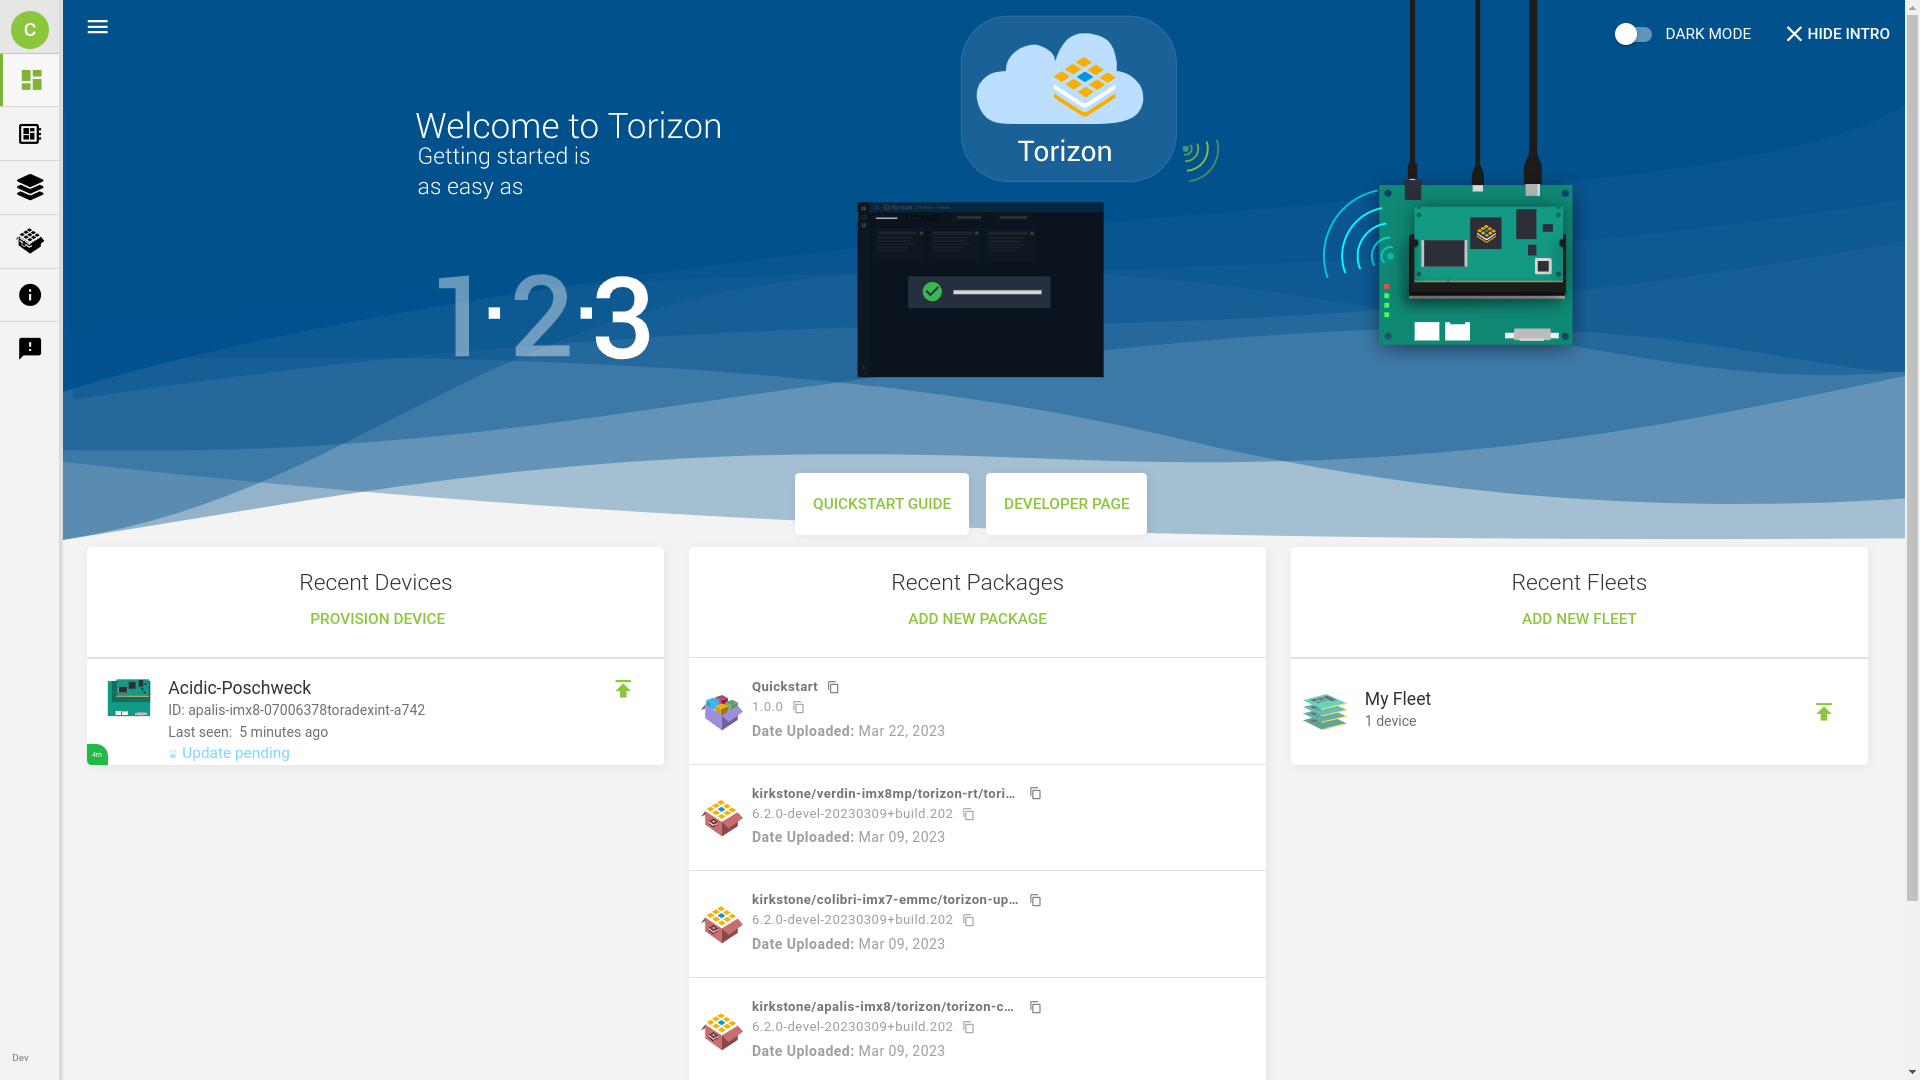
Go to the Dashboard again, and click on Fleets under the Hardware menu. On the Fleet Manager, click Add New Fleet.

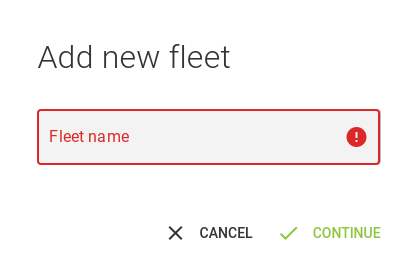
In the dialog box, insert a name for your fleet and click Create Fleet.
Step 2
On the Fleet page, click on Devices tab and then click on Manage Devices.

Step 3
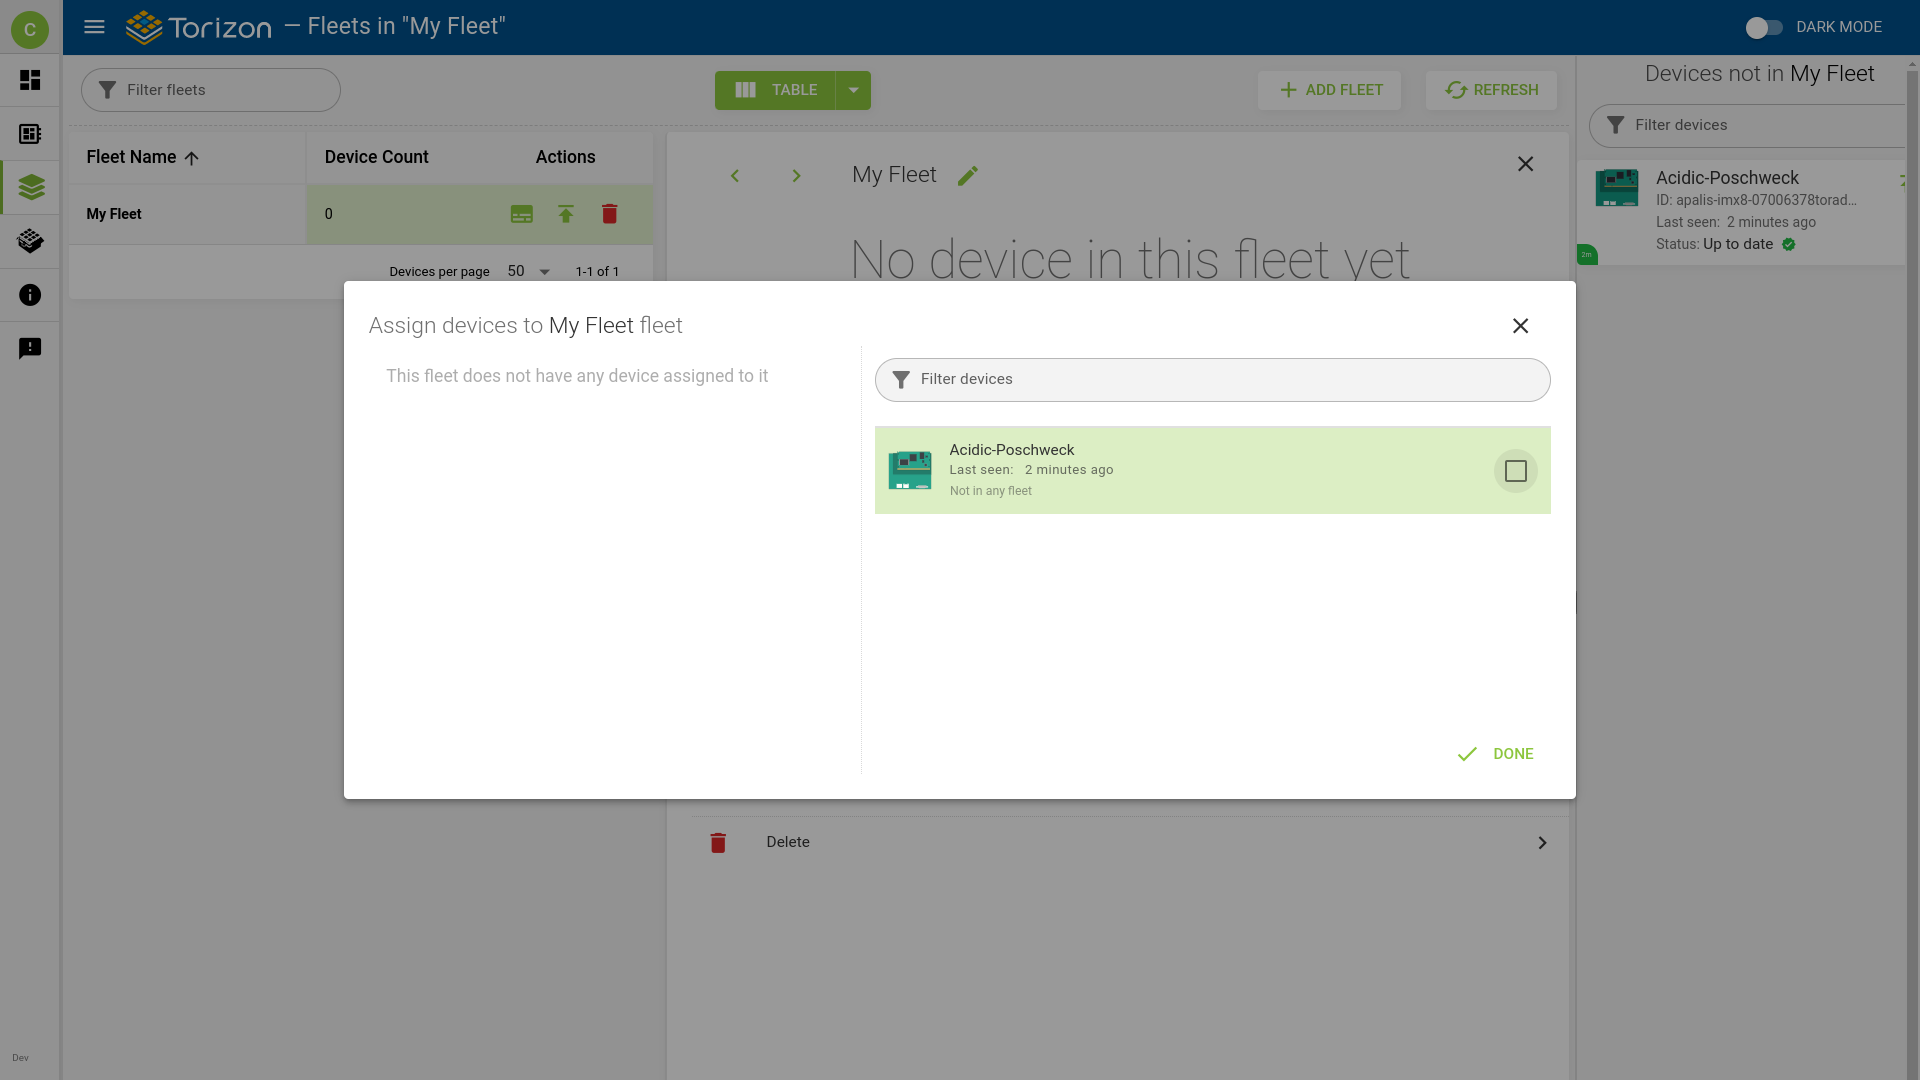
Select the devices to add to the fleet, and then click on Add device button.
In the following example, we have only one device, but you can add more if you have additional devices.
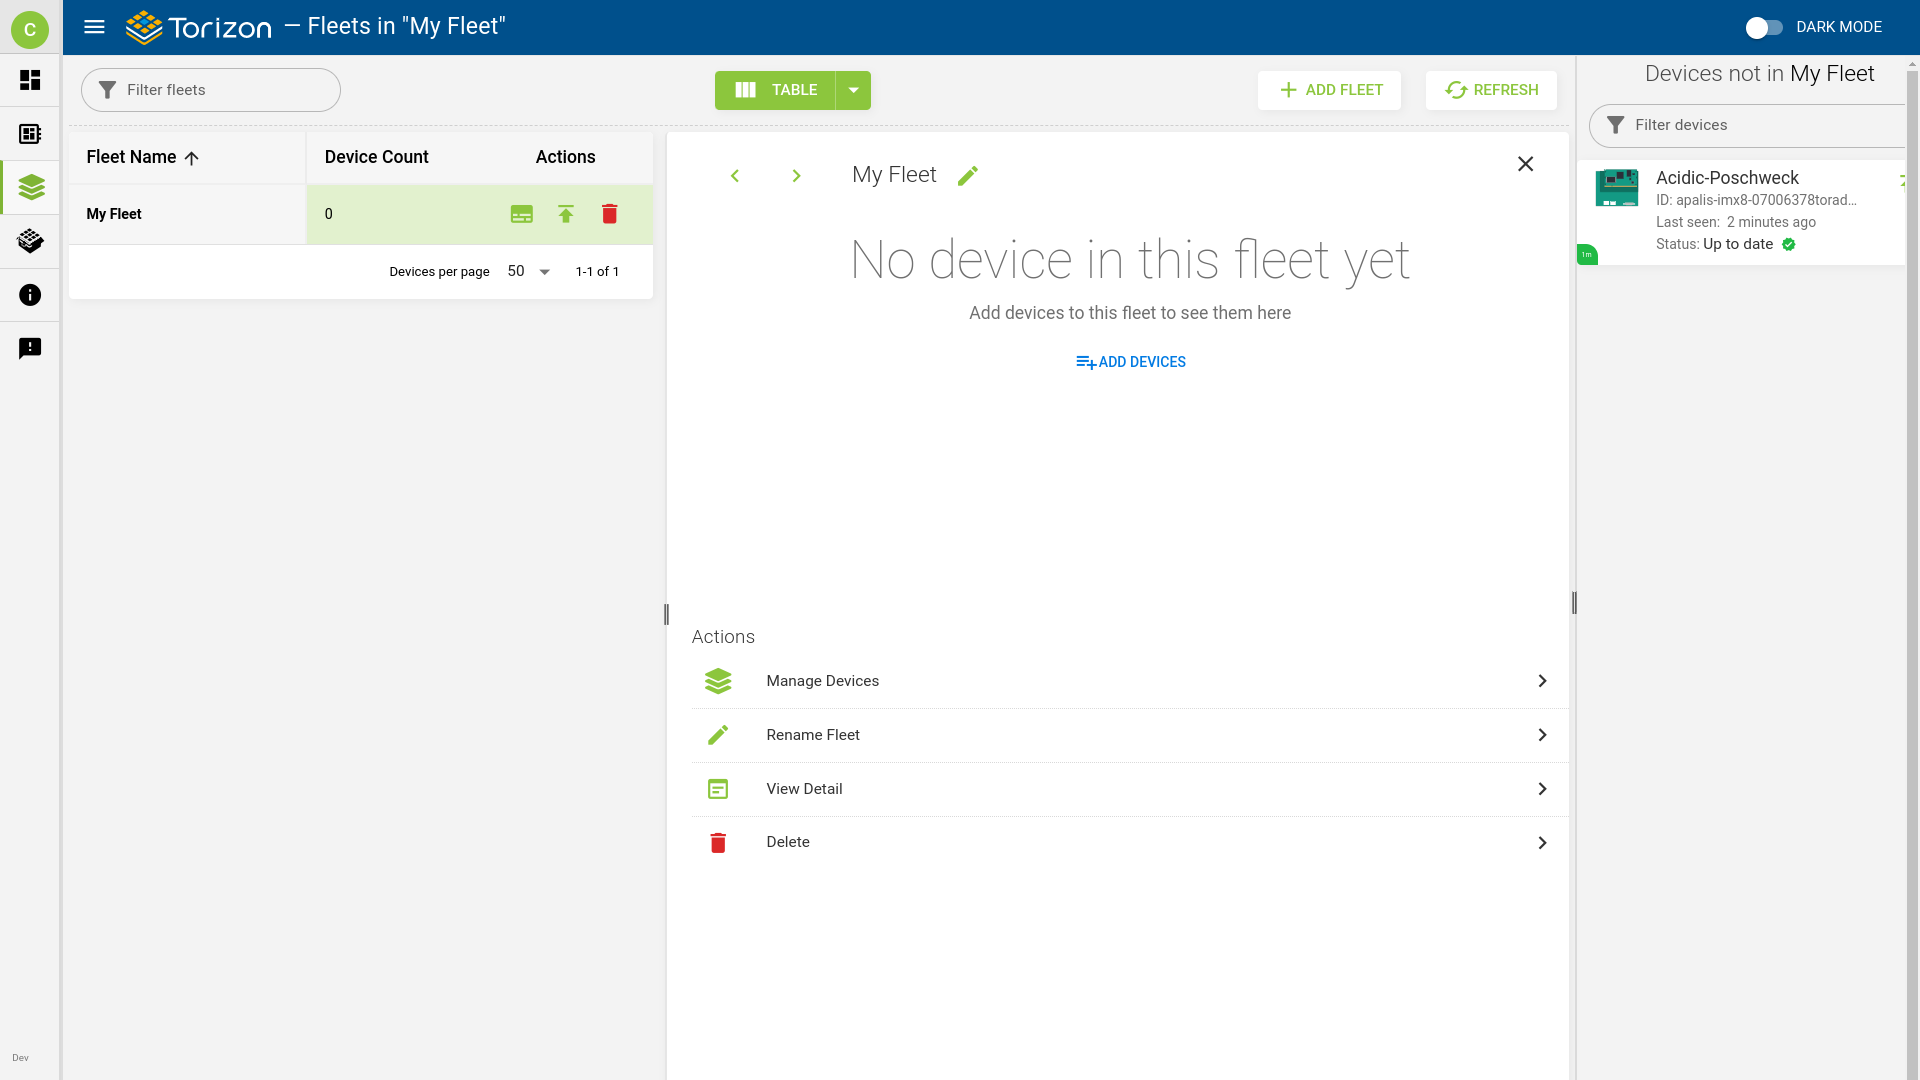
You will now be able to see your device on the fleet Devices list:
Step 4
In this step, you will create a new revision for the docker-compose file that you downloaded in the previous lesson. If multiple devices are added to your fleet, they will be updated simultaneously. However, before proceeding with the update, you have to create a new package as follows:
4.1 Edit the docker-compose.yml file. For instance, you can modify the browser initial page.
    command:
      - https://developer.toradex.com/
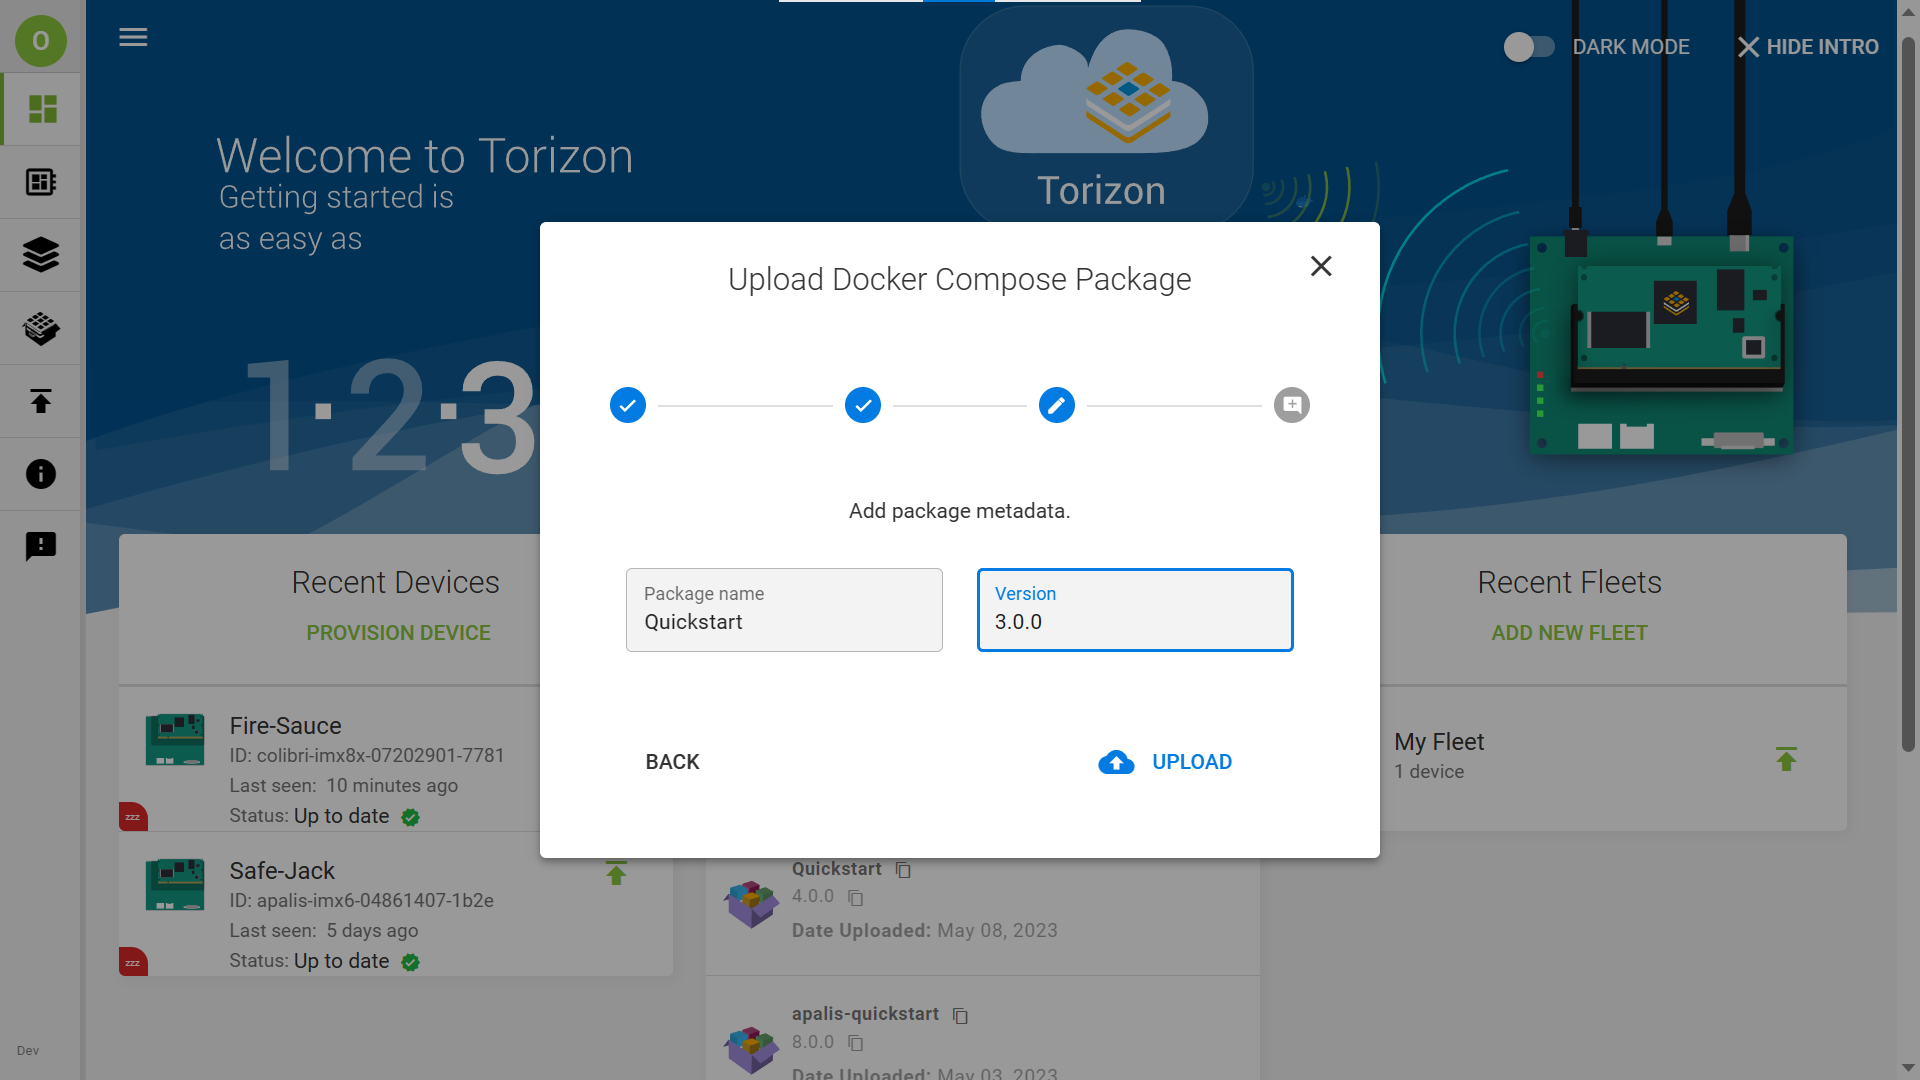
4.2 Update your package: as done in the previous lesson, upload a new version of your package, ensuring that you increase the version number while keeping the package name the same.
Step 5
Go to the Fleet Manager again and, on Actions, click to initiate an update in your fleet:

Step 6
Update your fleet the same way you did with your device in the previous lesson.
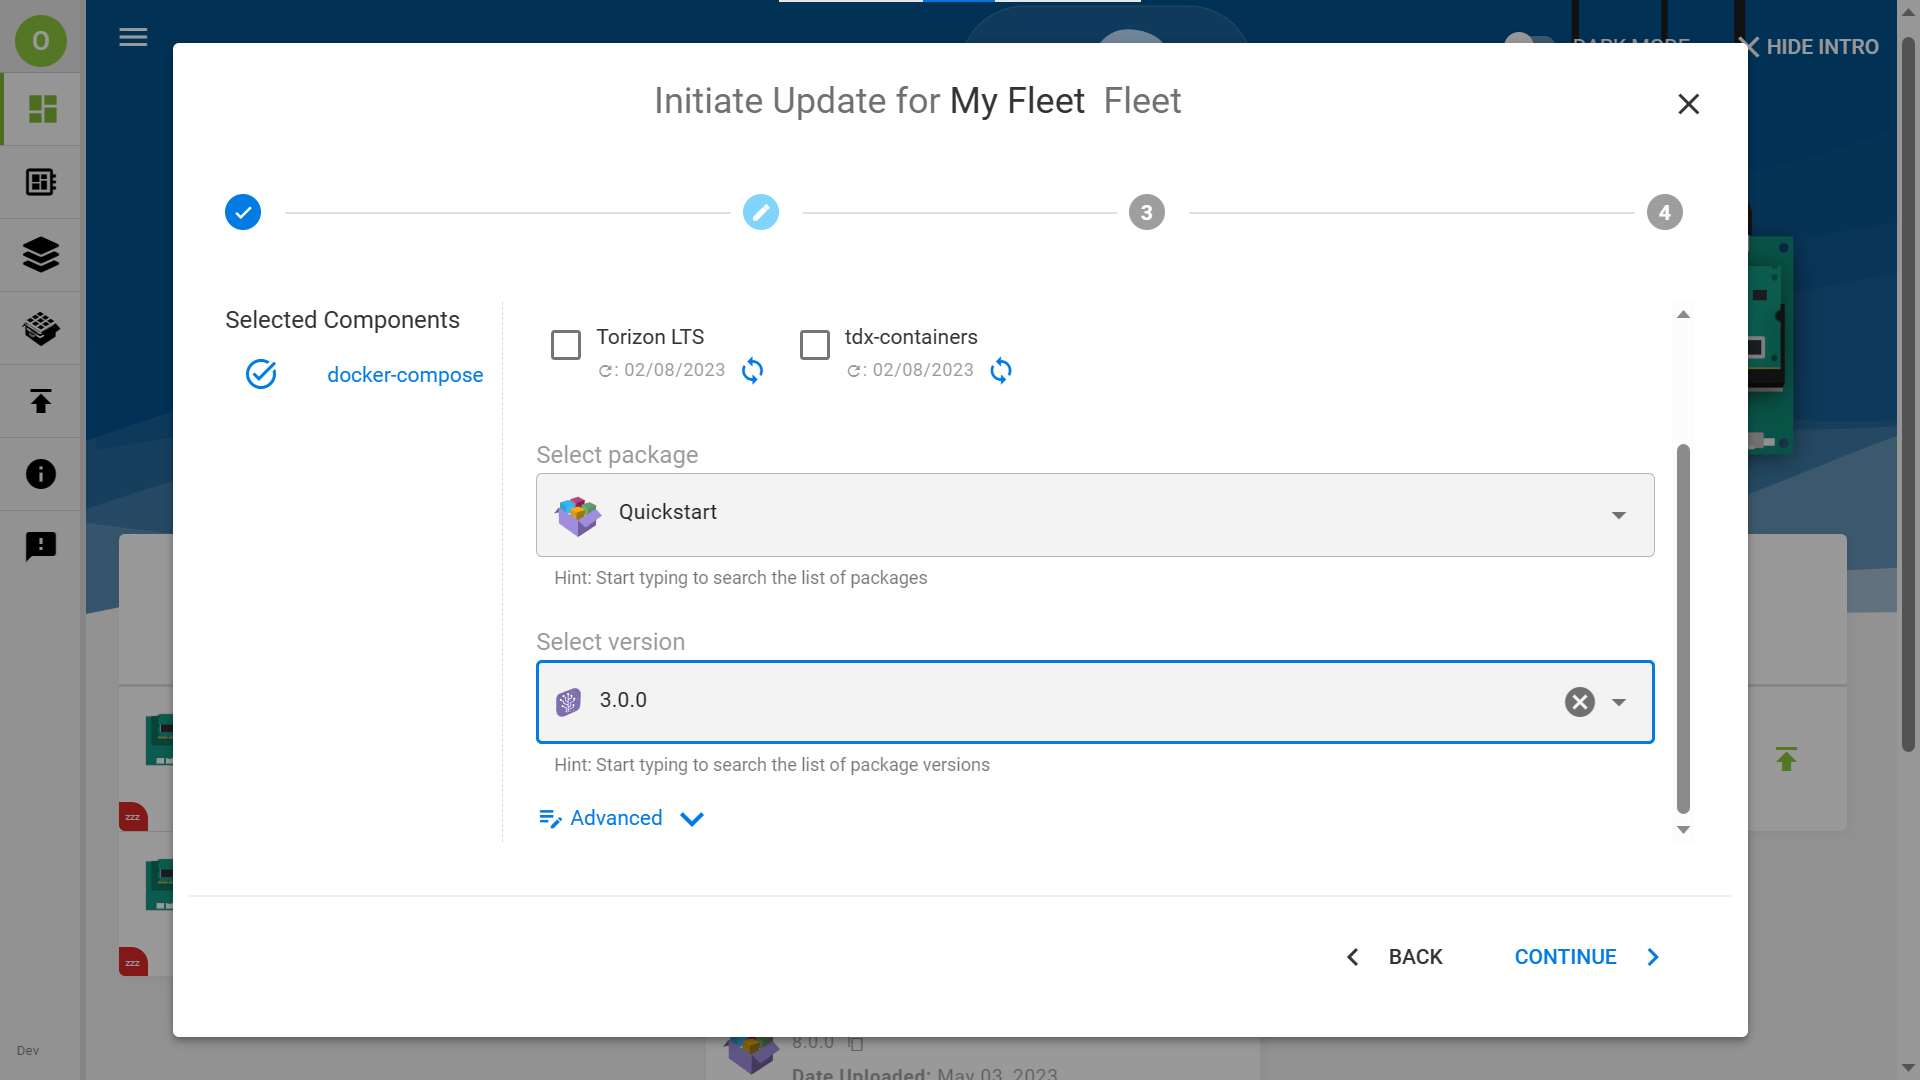

All the devices in your fleet will start upgrading, as shown in the dashboard. Wait until the process finishes.
Takeaway
During the early phases of evaluation and development, such as when going through this Quickstart Guide, you will most likely have only one device. This lesson illustrates the power of OTA management systems at a later stage of development when you will need to plan how you will update various devices on the field. Torizon Cloud already solves that for you, helping to bring your solution to the market faster.
FAQ
How much does it cost to have access to the Torizon Cloud?
Torizon Cloud offers both free and paid services. If you are interested, please refer to the Torizon Cloud commercial plans page on the Torizon website.
Where can I learn more about Torizon Cloud?
Torizon Cloud is new and growing fast, just like its documentation. Make sure to:
- Subscribe for updates on the Toradex developer website: it can be done on any page, at the footer of the page.
- Keep an eye on our Torizon Documentation, especially on the Torizon Updates section where you can find various related articles.