TorizonCore Builder VS Code Integration
Introduction
The TorizonCore Builder template for Torizon 7 is currently in Early Access.
You can also use the TorizonCore Builder tool from within the Torizon VS Code Extension environment.
Requirements
- Download the credentials.zip file.
- Get the Torizon Cloud API Client ID and Client Secrets.
- Setup the Torizon IDE Extension envinroment.
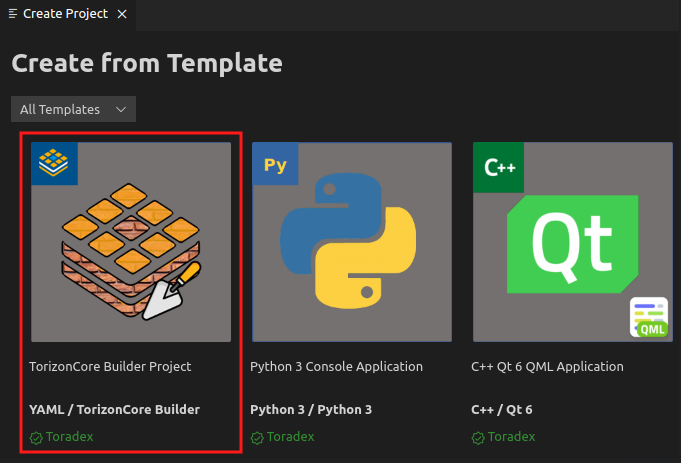
Create a new TorizonCore Builder Project
Add a Device
-
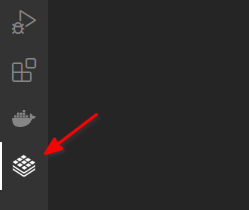
Scan your network: Click the Torizon icon in the left menu bar to scan your local network for devices.
 warning
The target device must be on the same network as the development machine.
You can also rescan your network by clicking the
Refresh Devicesicon.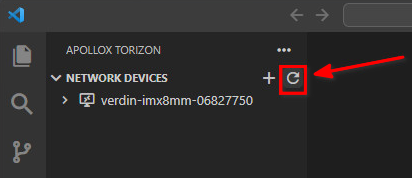
-
Connect your target device: After the scan, expand the device entry and click
Connect.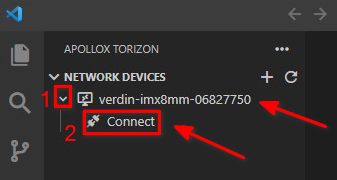
-
Input the SoM's
userandpassword: These credentials are the same you use for accessing your SoM from the command-line.
-
Check if the connection was established: You can follow the progress in the footer of the VS Code window.

After the connection, the device will be listed under
CONNECTED DEVICES, and the footer will show the connection status.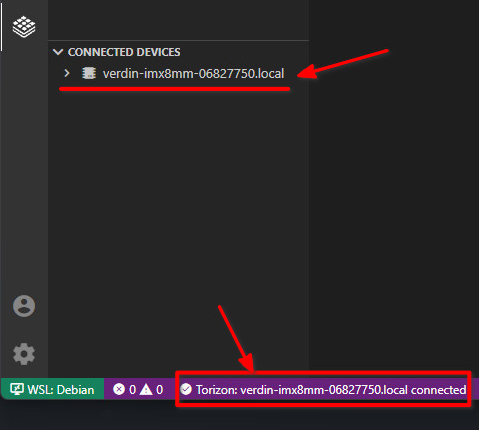
Configure the .yaml File
A minimal configuration file has to specify at least one input and one output. Below we assume that the input is a previously downloaded Toradex Easy Installer image that is stored in a directory called images relative to the working directory (set by the alias of the tool).
When downloading a Toradex Easy Installer image, be sure to download an image without evaluation containers, because the input image to be customized MUST NOT contain bundled container images. To download the image, go to the Toradex Download Links (Torizon, Linux BSP, WinCE and Partner Demos) article.
# Sample configuration file:
input:
  easy-installer:
    local: images/torizon-core-docker-colibri-imx6-Tezi_5.3.0+build.7.tar
output:
  easy-installer:
    local: torizon-core-docker-colibri-imx6-Tezi_5.3.0.CUSTOM
The directory structure of such a "project" would look like this:
.
├── images
│   └── torizon-core-docker-colibri-imx6-Tezi_5.3.0+build.7.tar
└── tcbuild.yaml
Run the Task Commands

- Run the
tcb-buildtask. - To test the new image
- Run
tcb-deployto deploy to your local device - Run
tcb-platform-pushto push the image to the cloud platform
- Run