Integrate Secure Boot on AM62-Based Devices
Introduction
This page describes how to enable the Toradex Secure Boot Implementation on AM62-based devices, providing instructions on fuse programming for writing the secure keys in the target device and generating secure Linux images.
Bootloader signature checking is a security measure to prevent the installation of malicious software on your equipment. The Secure Boot system checks the firmware against a security key safely stored in the board, and guarantees that the device will not boot unauthorized binaries.
Enabling Secure Boot involves fusing data to your board. Be aware that programming OTP (One-time Programmable) fuses is an irreversible process, and errors can permanently damage the SoC or render it non-functional. Additionally, enabling Secure Boot may lock debugging or restrict access to certain features.
Backup critical data, ensure stable power, and follow ESD precautions. Also, ensure all configurations are correct and only use manufacturer-recommended tools. After following the procedure, validate your settings, and document the fuse map for future reference. Proceed with caution.
The steps described here do not apply to Verdin AM62 V1.1 or earlier modules. Verdin AM62 V1.1 or earlier modules will not be fused if this procedure is followed correctly. Therefore, they can be used to test if the OTP keywriter is being correctly loaded.
Secure Boot Integration on AM62-based Devices
This section explains key points to consider when setting up Secure Boot on AM62 devices.
Key Components Involved in Secure Boot Integration
When setting up Secure Boot on AM62-based devices, it's important to understand the key components involved in the process:
- Firmware / Artifacts / Image: The bootable software (such as bootloader, kernel, or full image) intended for deployment on the device.
- Signing Keys: Cryptographic key pairs (public and private) used to sign firmware and verify its authenticity during the boot process.
- Fusing Firmware: A special firmware image that programs the signing keys into the device’s OTP memory.
- TI Tooling: Tools provided by Texas Instruments to generate the fusing firmware and manage key provisioning.
- Toradex Tooling: Tools provided by Toradex to sign your custom image and manage secure boot integration with Yocto and the tdx-signed class. For information on signing custom images for Toradex AMx-based devices, refer to this page.
- Host Machine: The development or build machine used to generate keys, sign firmware, and prepare the images.
- Target Device: The AM62-based hardware where Secure Boot is to be enabled and tested.
Public and Private Keys
Secure Boot relies on a matching key pair system to validate Software modules. To enable Secure Boot, you need to fuse the public key into the device's OTP memory. This key must match the private key used to sign verified firmware.
TI devices use three key pairs for Secure Boot:
- MEK (Manufacture Encryption Key): Provided by TI and permanently fused into the SoC. It is used to verify the signature of TI-signed artifacts and cannot be changed.
- SMPK (Secondary Manufacture Public Key): Created by the user and fused into the device. It is used to verify the signature of user-generated bootloader artifacts.
- BMPK (Backup Manufacture Public Key): An optional, user-generated backup key. If the SMPK is lost or compromised, the system can be reconfigured to use the BMPK for verifying bootloader signatures.
The following signature checking algorithms are supported:
- RSA: 2048-bit and 4096-bit key sizes
- ECDSA: secp256 and secp521 curves
Enabling Secure Boot on AM62-based devices
The process to enable Secure Boot on TI AM62 devices consists of four major steps:
- Generating the Keys for Signing
- Signing Bootloader Artifacts During the Build
- Preparing the Fusing Firmware - OTP Keywriter
- Loading and Running OTP Keywriter
The following sections will guide you through each of these steps.
Prerequisites
This guide assumes you already have:
- An Operating System image configured to run on your target device. For more details about building custom images with Yocto, refer to Build with Yocto Documentation Overview.
- A High Security (HS) device.
Additional Information: Texas Instruments K3 Architecture - Device Types
The Texas Instruments K3 platform has two types of devices: GP (General Purpose) and HS (High Security).
- General Purpose (GP) devices lack several security features and don't support secure boot.
- High Security (HS) devices have all security features available and support encrypted and authenticated (secure) boot.
IMPORTANT: To have access to the secure boot feature on Verdin AM62, make sure you are using an SoC of type HS.
A High Security (HS) device might be in one of two different states:
- Field Securable (FS) state: Before enabling secure boot, High Security (HS) devices are in FS state. In this state, users can run unsigned images, JTAG is available and secure boot is disabled.
- Security Enforced (SE) state: As soon as the keys are programmed in the OTP fuses, the state changes to SE. In this state, all security policies are applied, secure boot is enforced and JTAG is closed.
Note: For detailed information on how Secure Boot operates on K3 devices, please refer to the official documentation provided by Texas Instruments. If you require additional support, we recommend contacting a TI Sales representative directly, as most security-related documentation is available only under NDA.
Generating the Keys for Signing
This section will guide you through the process of generating the set of public and private keys.
The following operations should be done on your host machine.
Installing OpenSSL
OpenSSL 1.1.1 is required to generate the binary blob that will be used for the fusing procedure.
If another version of OpenSSL is installed, you will need to downgrade it to version 1.1.1. To check the version, run openssl version.
Run the following commands to install OpenSSL 1.1.1 (note that for this guide we are using a debian-based system):
$ wget https://ftp.debian.org/debian/pool/main/o/openssl/openssl_1.1.1w-0+deb11u1_amd64.deb
$ wget http://ftp.debian.org/debian/pool/main/o/openssl/libssl1.1_1.1.1w-0+deb11u1_amd64.deb
$ sudo apt install ./libssl1.1_1.1.1w-0+deb11u1_amd64.deb ./openssl_1.1.1w-0+deb11u1_amd64.deb
Creating the Keys
- Export the following environment variables to configure the output directory and the names of the keys:
$ export KEYS_DIR=~/keys/ti
$ export SMPK_NAME=custMpk
$ export BMPK_NAME=backMpk
In the current Toradex Secure Boot implementation, it is mandatory for the SMPK key to be named custMpk.
- Create the output directory to store the keys:
$ mkdir -p "${KEYS_DIR}" && cd "${KEYS_DIR}"
- Create the SMPK key pair and SSL certificate using RSA-4096:
$ openssl genrsa -F4 -out ${SMPK_NAME}.key 4096
$ cp ${SMPK_NAME}.key ${SMPK_NAME}.pem
$ openssl req -batch -new -x509 -key ${SMPK_NAME}.key -out ${SMPK_NAME}.crt
- Create the BMPK key pair and SSL certificate using RSA-4096:
$ openssl genrsa -F4 -out ${BMPK_NAME}.key 4096
$ cp ${BMPK_NAME}.key ${BMPK_NAME}.pem
$ openssl req -batch -new -x509 -key ${BMPK_NAME}.key -out ${BMPK_NAME}.crt
- Create the
ti-degenerate-key:
$ openssl genrsa -F4 -out ti-degenerate-key.pem 4096
This key is required when building bootloader artifacts for GP (General Purpose) devices. Although it is not used in Toradex Secure Boot implementation, it is required when building U-Boot.
- Create AES-256 encryption keys:
$ openssl rand -out aes256.key 32
$ openssl rand -out bmek.key 32
$ openssl rand -out smek.key 32
- Remove write access to the keys and certificates:
$ chmod a-w *
Signing Bootloader Artifacts During the Build
- Set up the build environment in your custom image folder:
$ repo init -u git://git.toradex.com/toradex-manifest.git -b refs/tags/7.2.0 -m torizon/default.xml
$ repo sync
$ MACHINE=verdin-am62 source setup-environment
- Add the following snippet to the end of
local.confto embed your keys into the custom image. Make sure to replace<username>with the same username which was used to generate the key previously:
$ INHERIT += "tdx-signed"
$ DM_VERITY_IMAGE = "mycustomsignedimage"
$ TDX_K3_HSSE_KEY_DIR = "/home/<username>/keys/ti"
This will embed your keys into the built image.
- Start the build:
$ bitbake torizon-docker
- Testing the Signed Image
4.1. Once the image is built, install it with the Toradex Easy Installer.
4.2. Connect to the board via serial interface to see the output during booting process. At this point, the module will not boot anymore, as unfused modules cannot boot signed images. The following error is expected on the serial console:
U-Boot SPL 2024.04-ti-gffbbc1dd68f4 (Jan 01 1970 - 00:00:00 +0000)
k3_system_controller sysctrler: k3_sysctrler_start: Boot Notification response failed. ret = -110
Firmware init failed on rproc (-110)
resetting ...
Please note that for the Reference Images (not Torizon) built with the Toradex BSP, no output is seen on the terminal when trying to boot signed images on unfused modules.
Preparing the Fusing Firmware - OTP Keywriter
This section will guide you through the preliminary steps to fuse the keys into your board.
Preparing the Host Machine
This section guides you to install and setup your host machine with all the software necessary for fusing the keys into the board.
Install the needed applications in the following order, always using the default installation path unless specified.
Installing MCU Plus SDK
- Download MCU Plus SDK:
Note that access to this download requires that you have:
- Requested access to the secure resource in this page
- Your access request approved by TI, this usually takes 1-3 days.
After approval, download the mcu_plus_sdk_am62x_09_01_00_43-linux-x64-installer.run file from this page
- Install MCU Plus SDK
2.1. Run the MCU Plus SDK installer:
$ chmod +x mcu_plus_sdk_am62x_09_01_00_43-linux-x64-installer.run
$ ./mcu_plus_sdk_am62x_09_01_00_43-linux-x64-installer.run
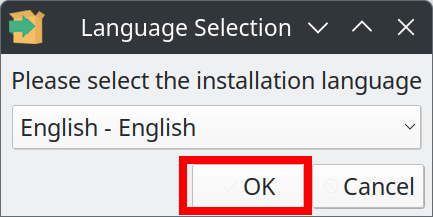
2.2. Select the Language:
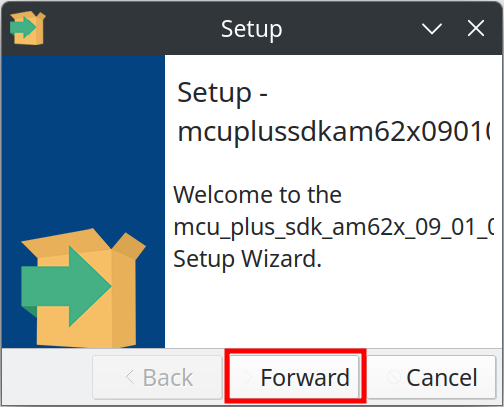
2.3. Check Software version and go forward:
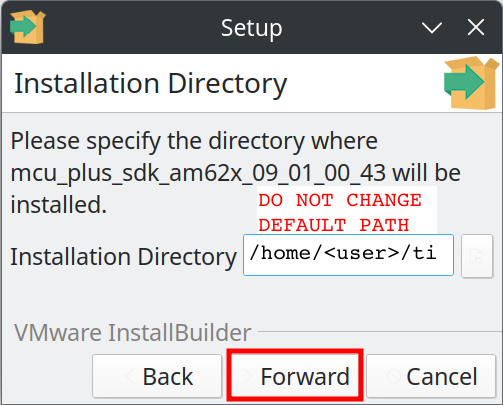
2.4. Set Installation Path:
The default installation path will be /home/<user>/ti.
Do not change the installation path, it is hard-coded in some build scripts from TI. Go forward.
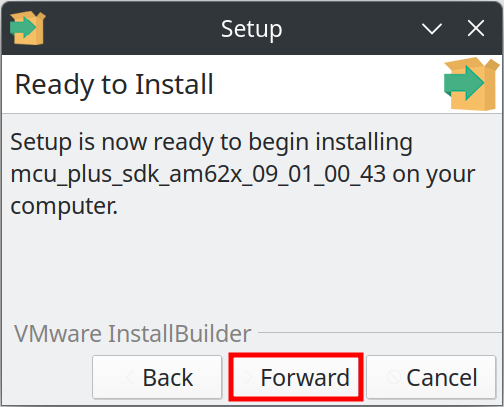
2.5. Confirm Installation:
2.6. Follow Up Installation:
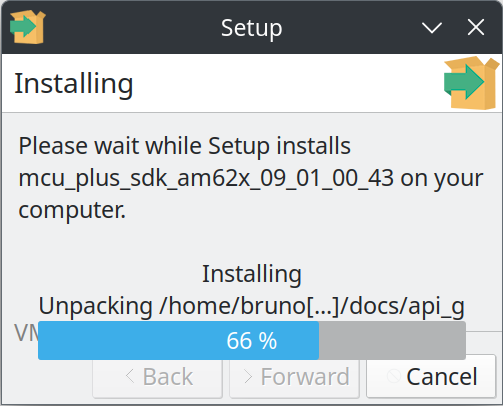
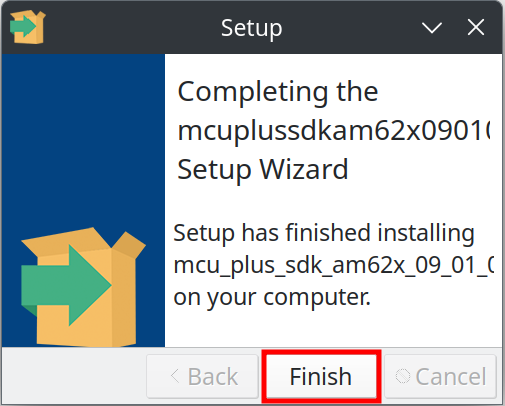
2.7. Finish the installation and close the installer:
Installing Code Composer Studio
- Download and unpack Code Composer Studio:
Decompress the files:
$ tar -xf CCS12.5.0.00007_linux-x64.tar.gz
- Run the Code Composer installer
$ cd CCS12.5.0.00007_linux-x64
$ ./ccs_setup_12.5.0.00007.run
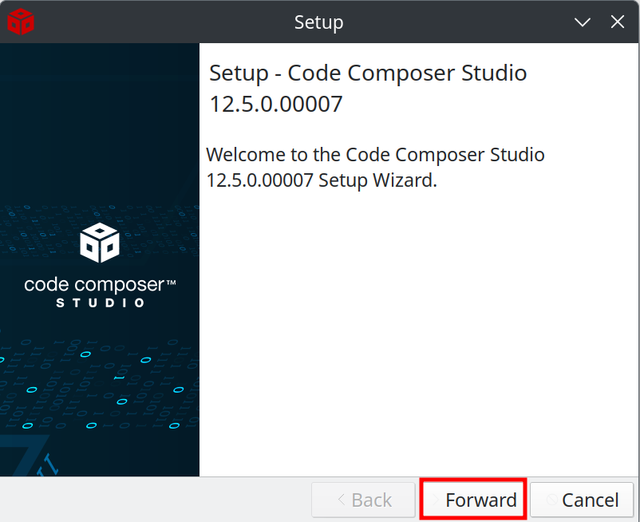
2.1. Check Software version and go forward:
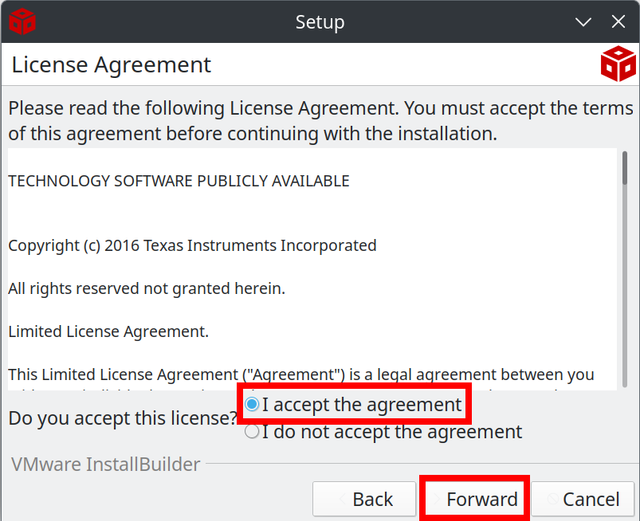
2.2. Accept the License Agreement and go forward:
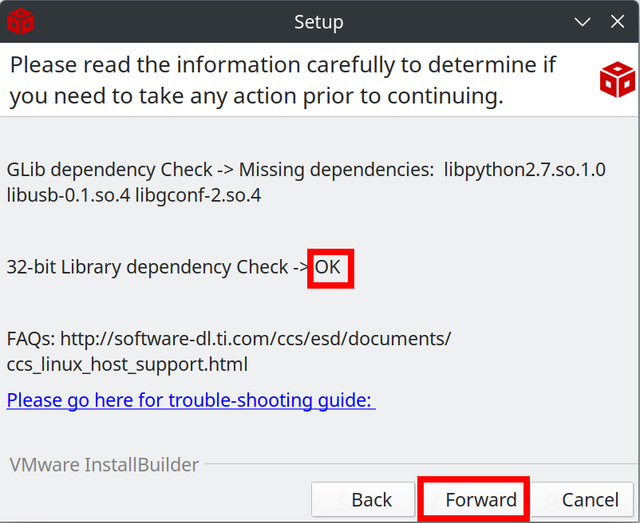
2.3. Check and Install Dependencies:
The installer will check for dependencies in the system. Check if the 32-bit Library dependency Check has passed. Refer to the Code Composer Studio troubleshooting guide for further support. Once this step is completed, go forward.
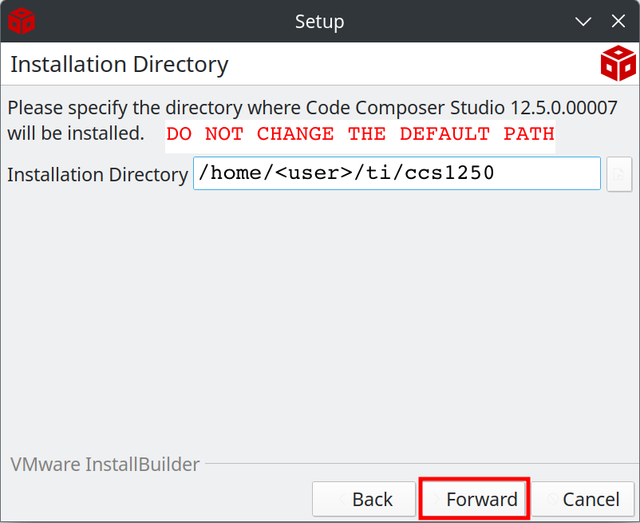
2.4. Set Installation Path:
The default installation path will be /home/<user>/ti/ccs1250.
Do not change the installation path, it is hard-coded in some build scripts from TI. Go forward.
2.5. Select Full Installation and go forward:

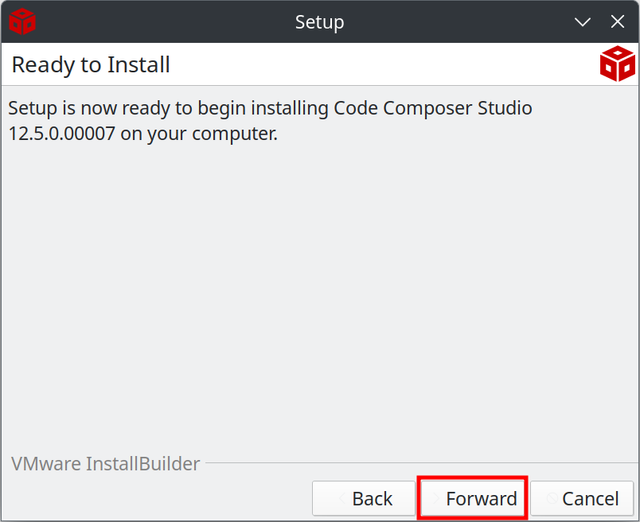
2.6. Start the installation:
2.7. Follow Up Installation:
The installation may take a few minutes. Wait for it to be finished:

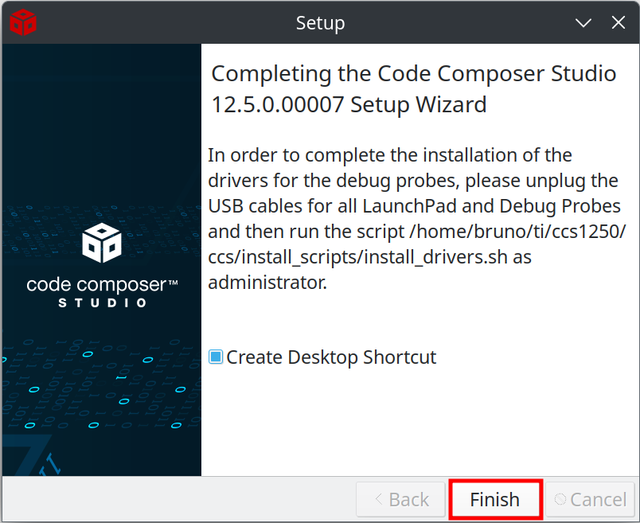
2.8. Finish the installation and exit the installer:
The Desktop Shortcut is not required.
Installing SysConfig
- Download SySConfig
- Access SysConfig Download Link and run the installer:
- Run the SysConfig Installer
$ chmod +x sysconfig-1.18.0_3266-setup.run
$ ./sysconfig-1.18.0_3266-setup.run
2.1. Check Software version and go forward:
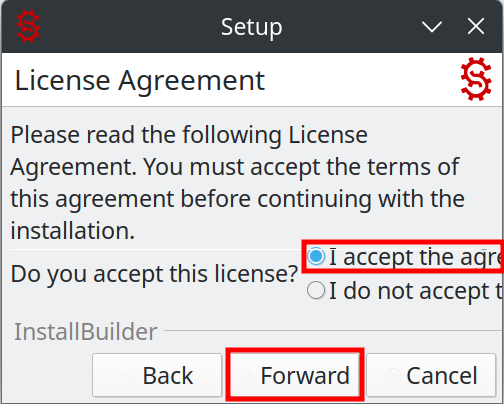
2.2. Accept the license agreement and go forward:
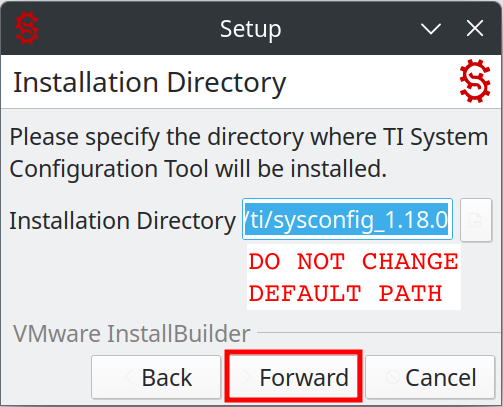
2.6. Set Installation Path:
The default installation path will be /home/<user>/ti/sysconfig_1.20.0.
Do not change the installation path, it is hard-coded in some build scripts from TI. Go forward.
2.7. Start the installation:
2.8. Follow Up Installation:
2.9. Finish the installation and exit the installer:
The Desktop Shortcut is not required.
If the SysConfig tool is automatically opened, close it.
Installing OTP Keywriter
- Download OTP Keywriter
1.1. Access OTP Keywriter Download Link. Note that access to this download requires that you have.
1.2. Requested access to the secure resource in this page
1.3. Wait for your access request approval by TI, this usually takes 1-3 days.
1.4. After approval, download the otp_keywriter_am62x-linux-installer.run file from this page
- Prepare the Installation directory:
$ mkdir -p ~/ti/mcu_plus_sdk_am62x_09_01_00_43/source/security
- Get and store the full path of the installation directory:
The output of this command will be used later to set the installation directory in the installer.
$ realpath ~/ti/mcu_plus_sdk_am62x_09_01_00_43/source/security
$   /home/<user>/ti/mcu_plus_sdk_am62x_09_01_00_43/source/security
- Run the OTP Keywriter installer:
$ chmod +x otp_keywriter_am62x-linux-installer.run
$ ./otp_keywriter_am62x-linux-installer.run
4.1. Select the language (In this example, we chose 13 - English):
Please choose an option [13] : 13
4.2. Read and accept the license agreement:
Do you accept this license? [y/n]: y
4.3. Set the installation directory to the full path obtained previously (Installing OTP Keywriter - Step 3):
Please specify the directory where otp_keywriter_am62x will be installed.
Installation Directory [/home/<user>/ti/otp_keywriter_am62x_09_00_00]: /home/<user>/ti/mcu_plus_sdk_am62x_09_01_00_43/source/security
4.4. Start the installation:
Setup is now ready to begin installing otp_keywriter_am62x on your computer.
Do you want to continue? [Y/n]: y
4.5. Follow Up Installation and Check Completion.
Reading the README file is not required:
----------------------------------------------------------------------------
Please wait while Setup installs otp_keywriter_am62x on your computer.
 Installing
 0% ______________ 50% ______________ 100%
 #########################################
----------------------------------------------------------------------------
Setup has finished installing otp_keywriter_am62x on your computer.
View Readme file? [Y/n]: n
Generating Certificate and Firmware
Generate and Prepare Certificate Binary
- Generate the certificate binary:
1.1 Run the MCU Plus SDK to generate the certificates:
$ cd ~/ti/mcu_plus_sdk_am62x_09_01_00_43/source/security/sbl_keywriter/scripts/cert_gen/am62x
$ ./gen_keywr_cert.sh -t tifek/ti_fek_public.pem --msv 0xC0FFE -a ~/keys/ti/aes256.key -s ~/keys/ti/custMpk.pem --smek ~/keys/ti/smek.key -b ~/keys/ti/backMpk.pem --bmek ~/keys/ti/bmek.key --keycnt 2 --keyrev 1
1.2. Confirm certificates are generated:
- The files
primary_cert.binandsecondary_cert.binshould be in~/ti/mcu_plus_sdk_am62x_09_01_00_43/source/security/sbl_keywriter/scripts/cert_gen/am62x - The file
final_certificate.binshould be in~/ti/mcu_plus_sdk_am62x_09_01_00_43/source/security/sbl_keywriter/scripts/x509cert
- Convert the certificate binary into a C header file that will be included in the Keywriter source code:
2.1 Run the MCU Plus SDK to convert the certificate:
$ cd ~/ti/mcu_plus_sdk_am62x_09_01_00_43/source/security/sbl_keywriter/scripts/x509cert
$ python3 ../../../../../tools/bin2c/bin2c.py final_certificate.bin keycert.h KEYCERT 2024
2.2 Confirm certificate is converted:
The file keycert.h should be in ~/ti/mcu_plus_sdk_am62x_09_01_00_43/source/security/sbl_keywriter/scripts/x509cert.
Build OTP Keywriter
- Go to the OTP Keywriter project directory:
$ cd ~/ti/mcu_plus_sdk_am62x_09_01_00_43/source/security/sbl_keywriter/am62x-sk/r5fss0-0_nortos
- Download the Toradex Patch to enable VPP on Verdin AM62 V1.2 modules:
$ wget https://docs.toradex.com/private/116128-verdin-am62v1.2-vpp.patch
- Apply the patch in the Build OTP Keywriter source code:
$ git apply 116128-verdin-am62v1.2-vpp.patch
- Execute the build the OTP Keywriter using
make:
$ cd ~/ti/mcu_plus_sdk_am62x_09_01_00_43/source/security/sbl_keywriter/am62x-sk/r5fss0-0_nortos/ti-arm-clang
$ make -sj clean PROFILE=debug
$ make -sj PROFILE=debug
- Confirm OTP Keywriter build was successfull:
The file tiboot3.bin should be present in ~/ti/mcu_plus_sdk_am62x_09_01_00_43/source/security/sbl_keywriter/am62x-sk/r5fss0-0_nortos/ti-arm-clang.
Loading and Running OTP Keywriter
- Install
dfu-utiltool:
$ sudo apt install dfu-util
- Put the target device in recovery mode:
To fuse the keys using OTP Keywriter, boot the board into Recovery Mode. This mode is required to load the OTP Keywriter to the device.
- Establish serial connection to the target device:
At this point, if you haven't already, establish a serial connection to your target device so you can see the output of OTP Keywriter:
- Load the OTP Keywriter onto your target device by executing the commands on your host machine:
$ cd ~/ti/mcu_plus_sdk_am62x_09_01_00_43/source/security/sbl_keywriter/am62x-sk/r5fss0-0_nortos/ti-arm-clang
$ sudo dfu-util -c 1 -i 0 -a bootloader -D tiboot3.bin
- Verify successfull fusing:
Once the keys are written successfully, the following message should show up on the serial console (connected to your target device):
Starting Keywriting
Enabled VPP
keys Certificate found: 0x43c15500
Keywriter Debug Response:0x0
Success Programming Keys
Done Keywriting
Disabled VPP
At this point, power cycle the device.
The device should now be fused and is no longer able to boot unsigned images.
Common Issues
If VPP is not properly applied (Verdin AM62 V1.1 modules), the following output should be seen on the serial terminal:
Starting Keywriting
Enabled VPP
keys Certificate found: 0x43c15480
Keywriter Debug Response:0x2000800
Error occured...
If the keys were generated incorrectly or with a different version of OpenSSL, the following output should be seen on the serial terminal:
Starting Keywriting
Enabled VPP
keys Certificate found: 0x43c15480
Keywriter Debug Response:0x20
Error occured...