How to create a Qt application
Qt SDK installation on WinCE 7
To install Qt, please follow the step-by-step instructions. This installation instructions are valid for Qt 4.8.4 with WinCE 7 under Visual Studio 2008.
Creating your first Qt application
- Open Visual Studio 2008.
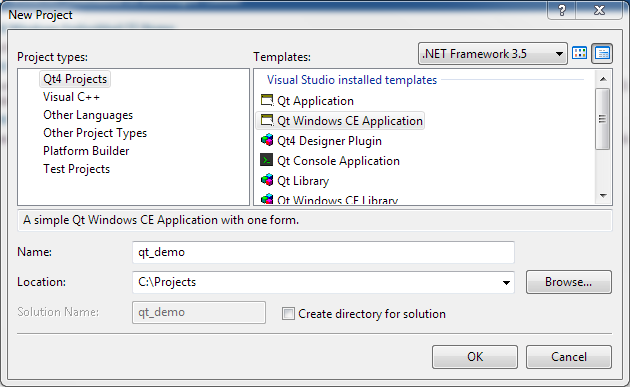
- Browse through File > New > Project > Qt4 Projects (on left pane) > Qt Windows CE Application.
- Choose a project name (i.e qt_demo) and click OK.
- On next page, you will see ‘Qt4 Windows CE Project Wizard’.
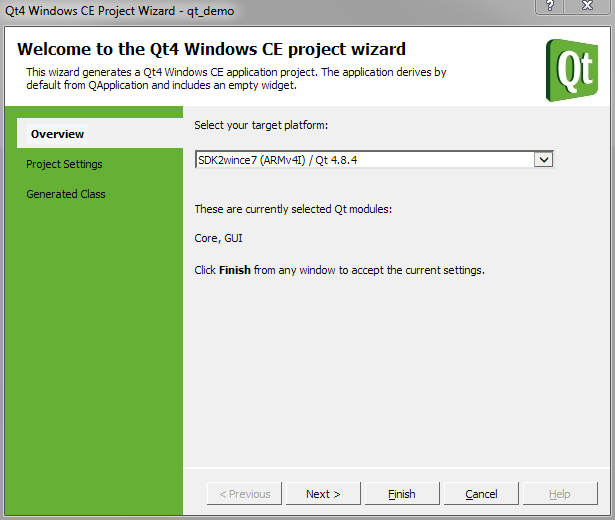
- Qt program wizard automatically detects the installed Qt version for WinCE 7.
- Click Next. This page gives you an option to add additional Qt libraries depending on your application (QtCorelib and QtGuilib are default libraries).
- Click Next & Finish.
- Edit the code as shown below.

#include "qt_demo.h"
#include <QtGui/QApplication>
#include <qpushbutton.h>

int main(int argc, char *argv[])
{
    QApplication demoApplication(argc, argv);
    QPushButton message("Hello World!", 0);
    message.resize(320, 200);
    message.show();
    return demoApplication.exec();
}
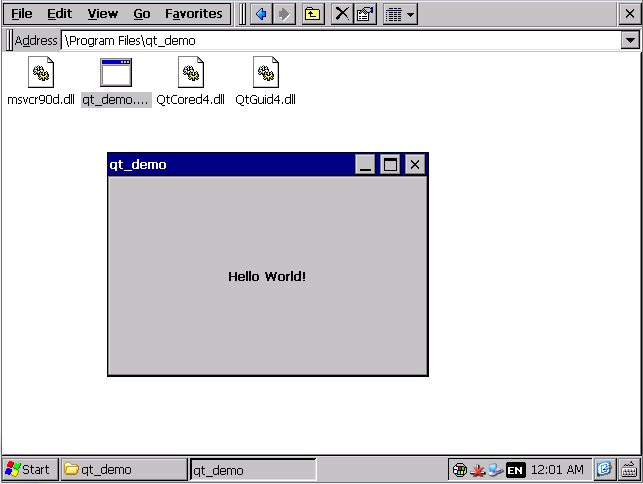
- Build and deploy solution.
- You will find the executable and other deployed files in project folder present in My Device > Program Files on Toradex module.
Download project
You can download demo source code from here.
To learn how to use Toradex libraries in Qt Application, follow this link.