How to implement Ethernet Client/Server in VC#
Overview
Ethernet is a widely-used high performance networking technique for local area networks (LAN). Because of it's easy and inexpensive implementation, it is a very popular and reliable technology.
When invented it had a transmission rate of 2.94Mb/s and could support 256 devices over cable for 1km using CSMA/CD. To match with the high speed network requirements, it was continuously updated so now it supports a maximum data rate up to 10Gbps.
This article demonstrates how data can be sent and received over Ethernet in VC#.
Steps
- Demo application can be downloaded from here.
- Navigate to Solution Explorer in visual studio > Right Click on Solution > Properties > Devices.
- Uncheck "Deploy the Latest version of the .NET Compact Framework (including Service Packs)".
- Build and deploy the project on your WinCE device.
- Download and Install .NET Compact Framework directly to the FlashDisk of the device from here.
- Go to My Device > Program Files > vcsharp_ethernet_client_server_demo and run the application vcsharp_ethernet_client_server_demo.exe.
Configure TCP Client
- Download any TCP Server application such as Hercules for your development PC .
- Set the port number and run TCP server.
- On your WinCE device, run vcsharp_ethernet_client_server_demo application.
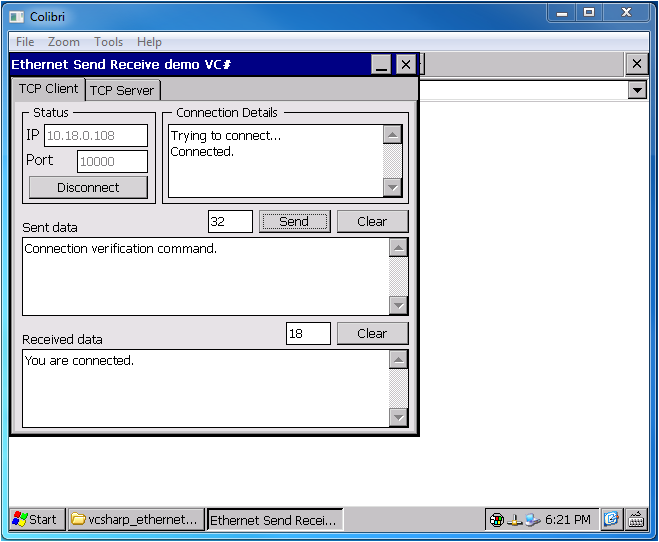
- In TCP Client tab, enter IP address of your development PC and port number for which server is configured and press Connect button.
Image shows the configured TCP client:

Configure TCP Server
- On your WinCE device, run vcsharp_ethernet_client_server_demo application.
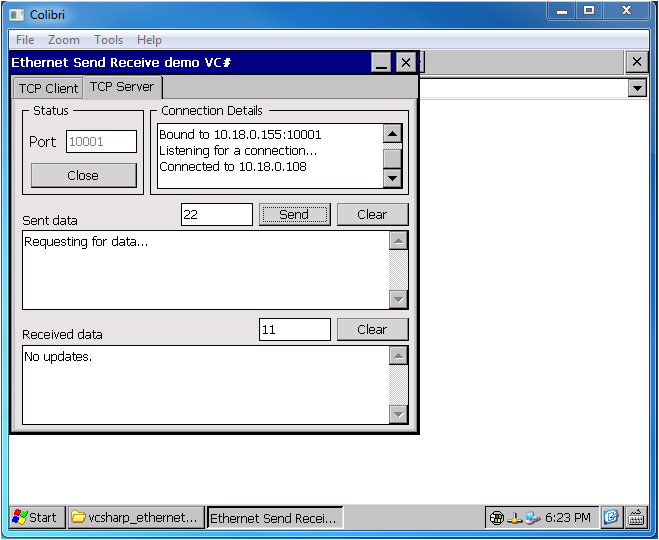
- In TCP Server tab, set port number and press Listen button.
- Download any TCP client application for your development PC like Hercules or Tera Term."
- Enter IP adress of your WinCE device and port number for which server is configured and press Connect button.
Image shows the configured TCP server:

Any feedback/question, please send us an email at support@toradex.com.